Mounting a Panel PC
Our Panel PCs are securely mounted using a clamp mount installation, which enables an IP rated level of protection by utilising rubber gaskets to seal the tiniest gaps between Panel PC and mounting surface. Each DSL Panel PC is provided free of charge with the complete kit required to do so.
Preparation
– Check the Panel PCs datasheet for its rectangular cut out dimensions from our website. If you cannot locate the correct mechanical drawing please contact your dedicated Account Manager via e-mail or using the contact details above.
– Ensure your cut out exactly meets the cut out dimensions requirement. If the cut out is not precise then you are likely to encounter issues later when securely mounting the unit
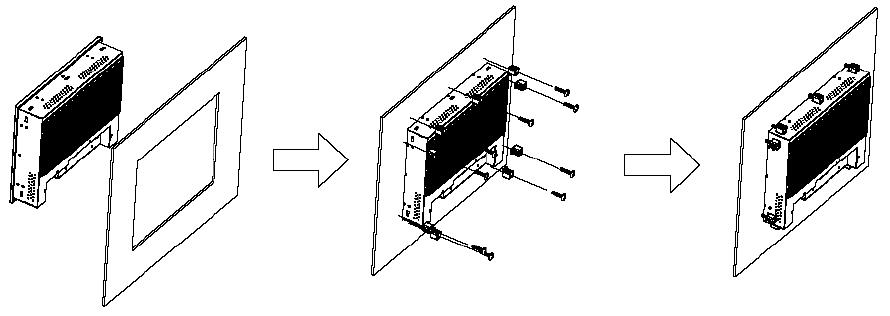
– Now the cut out has been created, you are now in a position to slide the Panel PC through the cut out, ready to apply the mounting clamp into its fixing. For this you will require a Philips screwdriver for tightening, ideally a Torque screwdriver if you want to achieve the optimum secure mounting – especially important in an industrial high shock/vibration environment.
Panel PC Installation
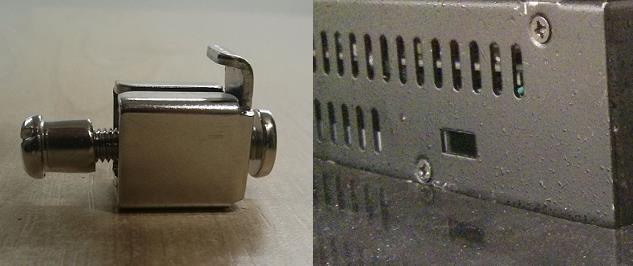
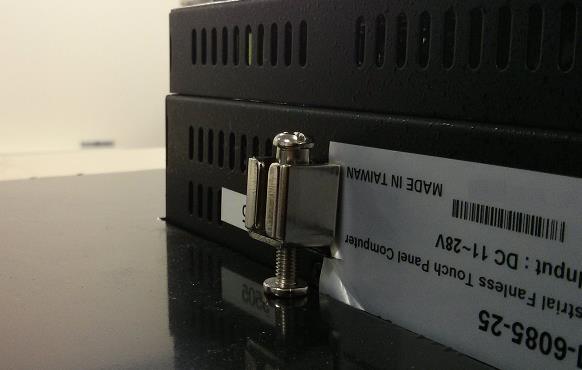
– First hook the clamps into the Panel PC mounting holes, and turn the screw so that the head rests on the cut out face.
– Tighten the clamp from the rear of the unit until secure, we advise a torque measurement of no more than 10 kgf-cm (0.98Nm)
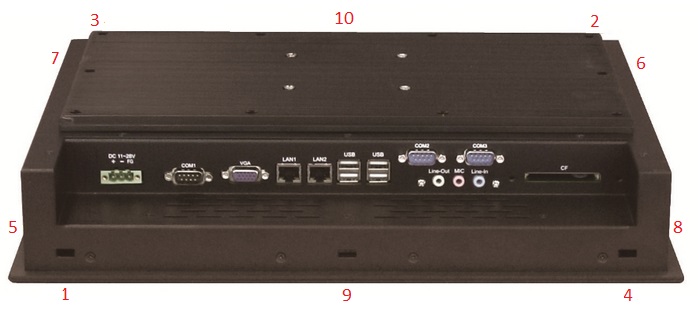
– We would also advise to tighten the clamps in the traditional opposite tightening positional routine, to avoid unbalanced pressure on any particular area during installation causing distortion/damage of the chassis – for example using the order below.